It's all about BROWS! Tutorial using ELF Eyebrow Kit
IT'S A TUTORIAL YAY!
By popular request, here it is. A tutorial on how I fill in my brows!
This isn't the "correct" or "only" way to fill in brows, this is just what works for me and my brow shape. Hope it helps!
You guys get to see my naked forehead. This is how I feel about that, but if I were to pretend I'm relentlessly cute and am incapable of being ugly at any time:
god, so fake I want to vomit
But this is how I actually feel about it.
I DON'T FEEL CUTE ABOUT IT.
If you want to watch me do it, here's the video:
Let's get to it!
Things I use: ELF Eyebrow Kit in Dark
Burgundy eyeshadow (the shade "Sexy" from TheBalm's Nude'Tude palette)
Two different angle brushes - one skinny, one fluffy
Brow brush thing
Terms I use:
What I actually do:
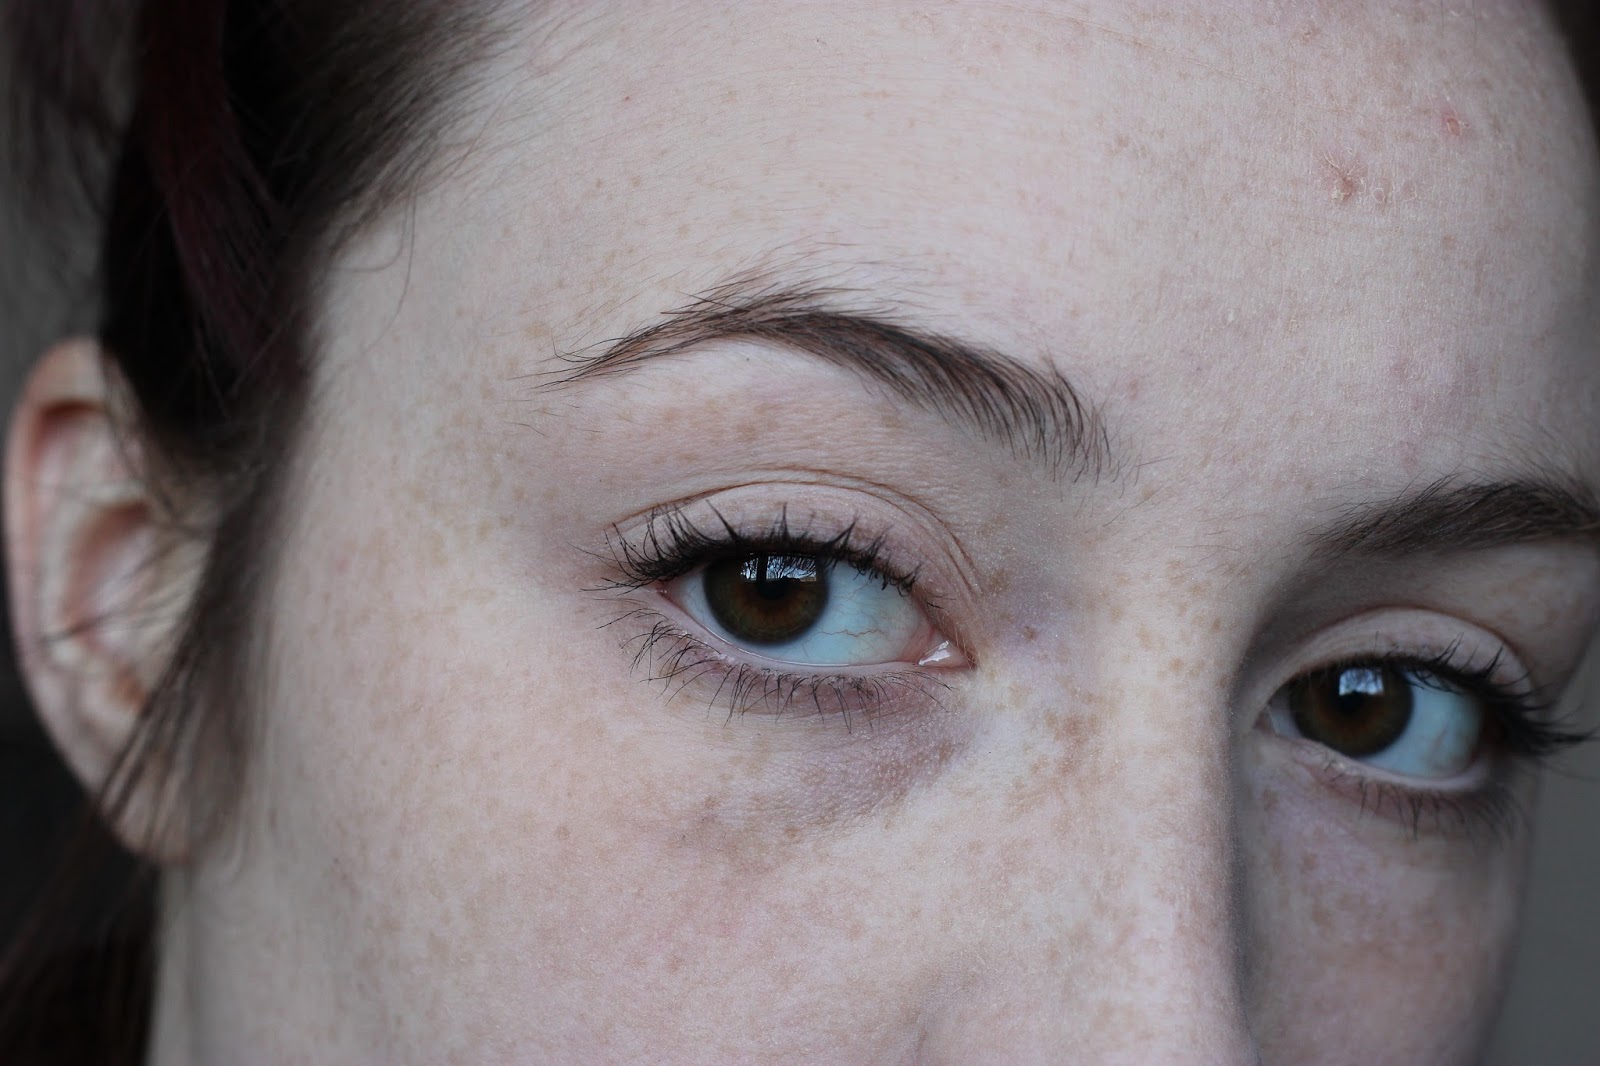
Here is my untouched brow. As you can see I don't worry all that much about plucking EVERY stray.
untouched brow
I start by combing them thangs using a spoolie or brow brush of some kind.
Step 1: comb brows.
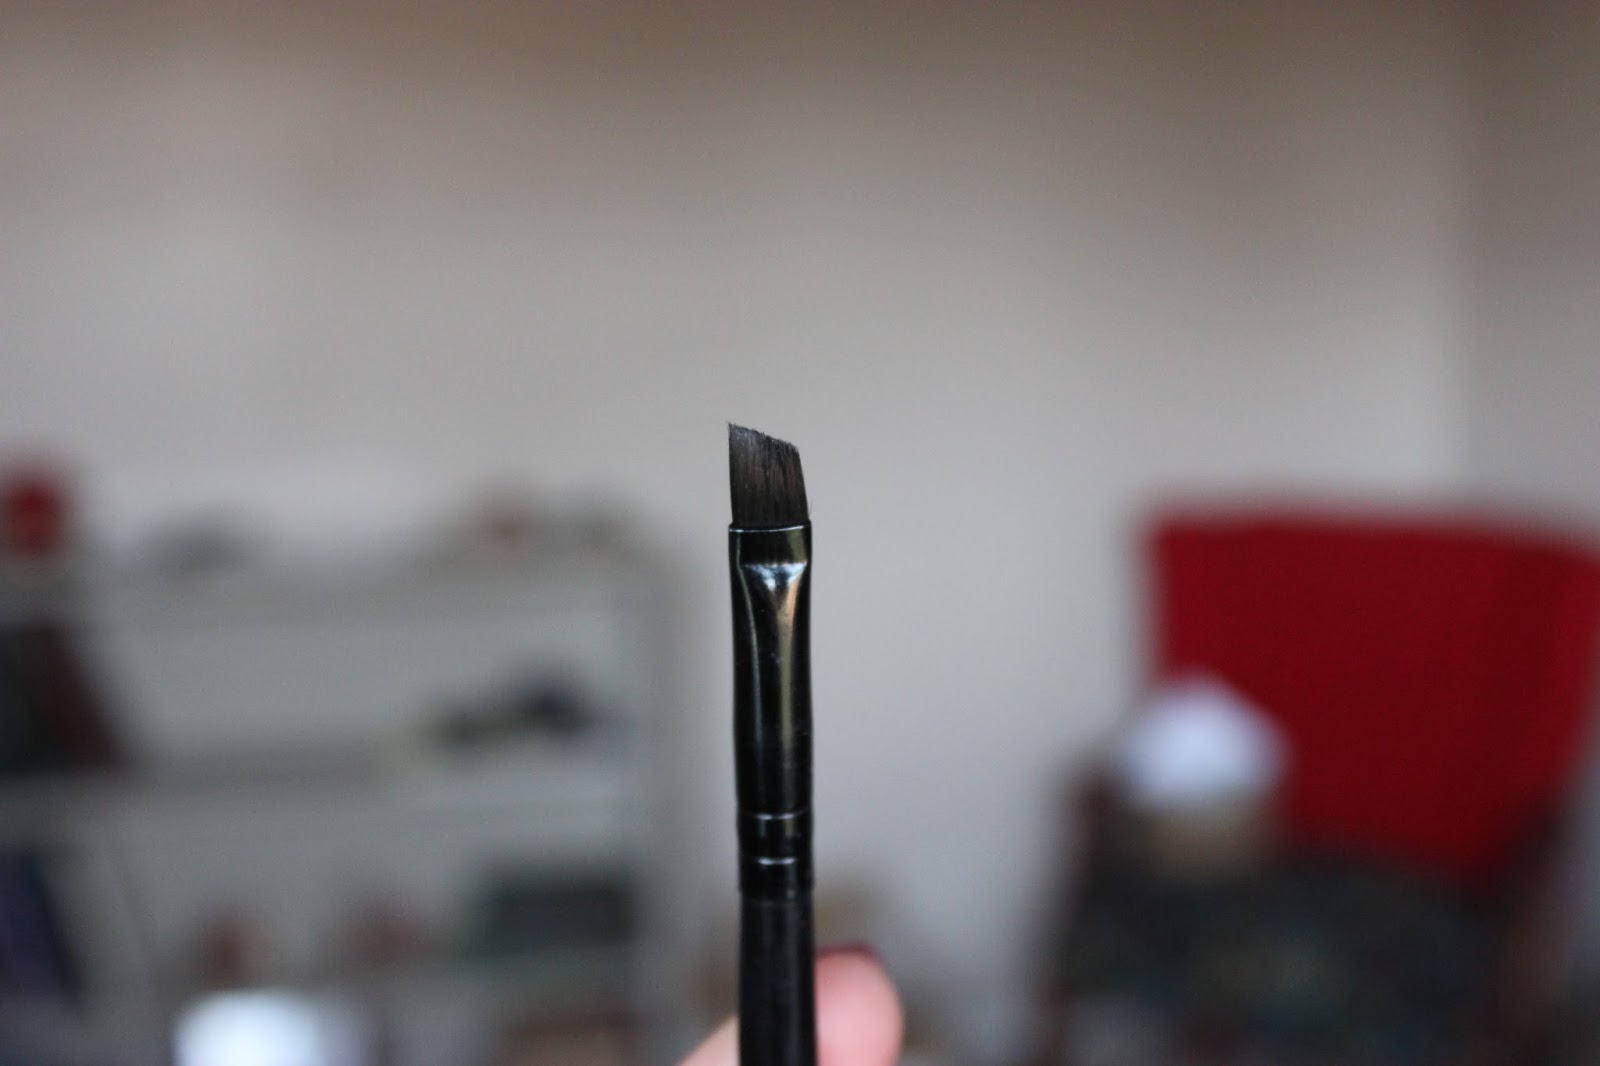
Get some of the cream/gel part of the ELF brow kit onto your skinnier angle brush.
it looks gross
ELF angle brush. skinny, for precision!
Then I define the arch by drawing a line along the bottom, and extending it out to the tip of the tail (outside end of the brow).
Next, I finish off the tail by starting at the top corner of the arch, and drawing down to the tip. NOTE: I always end that line sooner/further towards the center than I think I want. This helps with making the tail pointy later!
tail outlined
After blending the tail a bit, I draw in the rest of the bottom edge of the brow. Defining this and not letting it be too fuzzy changes the whole brow. The WHOLE brow. NO PRESSURE.
bottom edge complete
Next, I define the top edge a little more, but just before the arch.
it's subtle because it's more IN my brow hair.
It's a little hard to see there. But then I blend it a little more by holding my brush flat against the brow, and dragging down, like so:
holding the brush flat
blending downwards
Then I do the same thing to the bottom edge line!
blending
BLENDING
This part is important, because if you don't blend those two lines, your brow can end up boxy. Which looks great on some people, but it's not my jam. Blending the lines allows for definition without too much power-brow. (make sure you have little to no product left on your angle brush when you blend!)
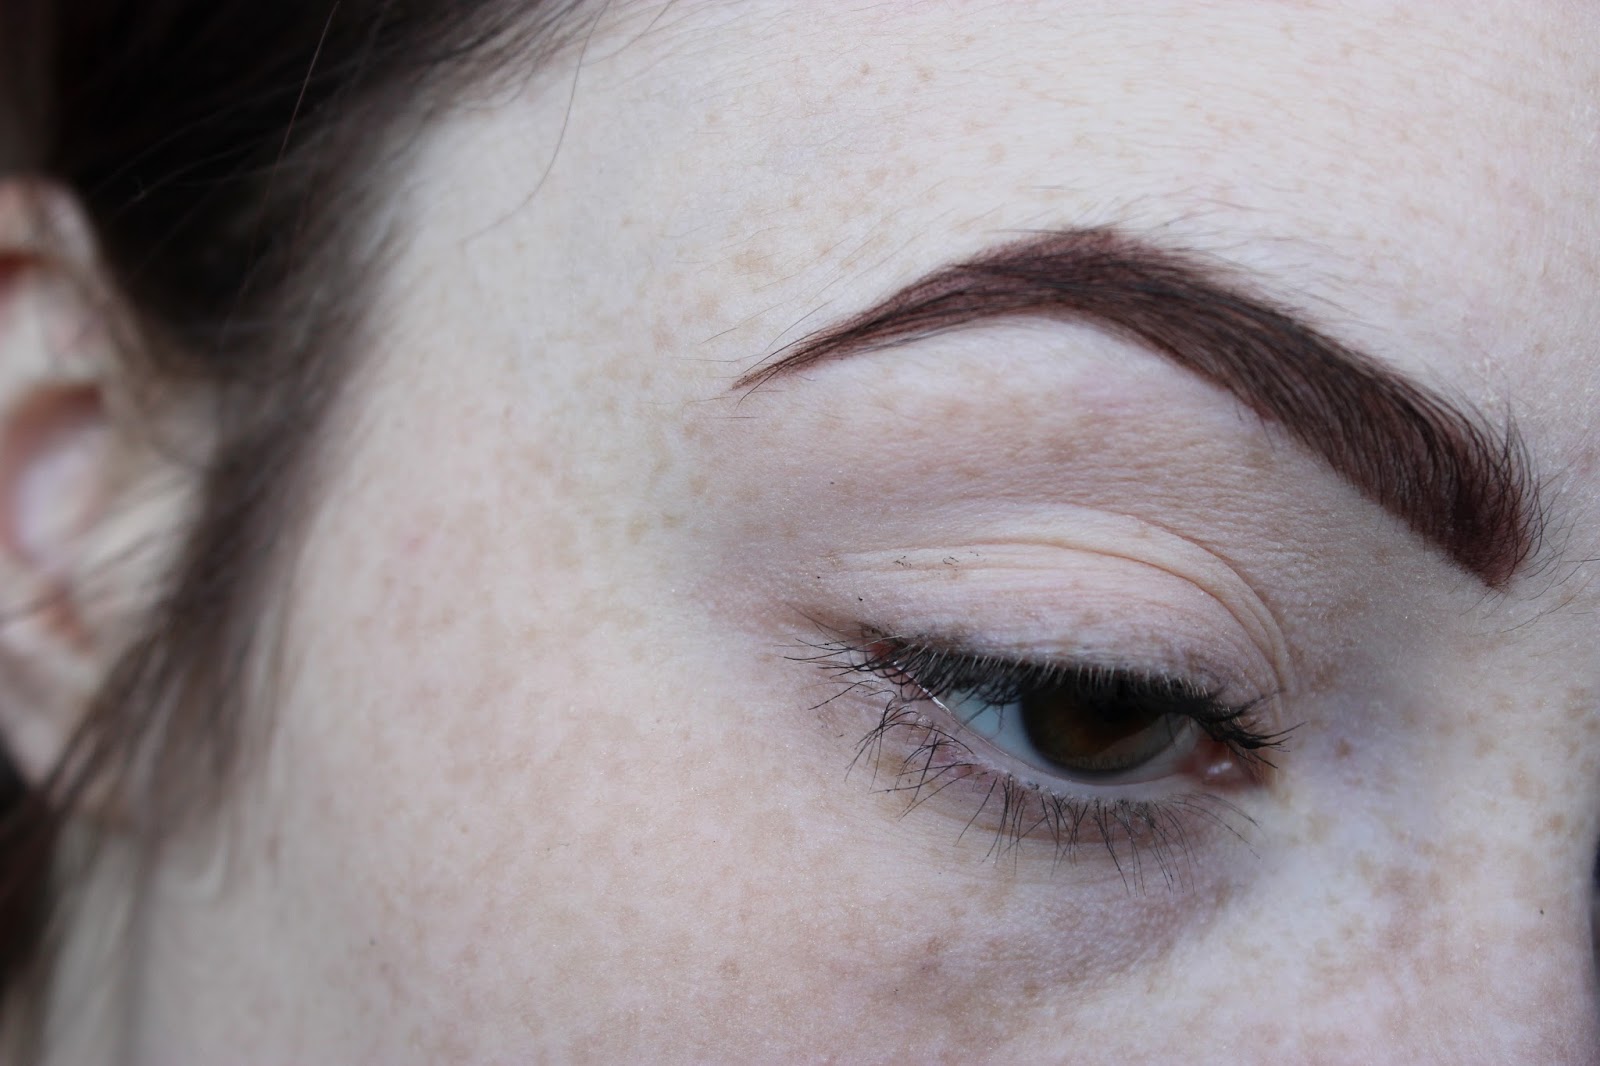
Here's what this step looks like done. Depending on how much product you use/how much blending happened, you could stop here.
fully outlined and blended
fully outlined and blended
But I totally don't stop there. I use a burgundy eyeshadow and a fluffier angle brush to set the gel and fills in gaps!
I'm kind of panicking because I'm RUNNING OUT OF THIS SHADOW
basic Ecotools brush
This part kind of goes in the same order as the first part. Starting at the front bottom edge...
...drag to the arch.
It looks like this:
bottom line drawn
Then fill in the tail.
tail filled in
Then blend up/fill in the rest!
all filled in
Sometimes (every time) the tail gets a little too intense for me, since that fluffier shadow brush isn't precise enough to make that shit pointy.
a little messy
yeah it's time to fix that shit
So I take a damp q-tip and wipe off the excess shadow in an inward motion. Hard to explain... basically I don't wipe parallel to the brow, because that doesn't help with getting the tail more defined.
start here
but go that direction
same on this side... see where the skin is wrinkling? that's the direction I'm going
Then I go back in with the gel (blot first!) and pat on a tiny sharp tip.
start from the CENTER of the tail, not the top or bottom edge
Don't try to draw a tiny triangle... you're gonna have a bad time. Start from the center of the tail, not the top or bottom edge, and you get this:
VIOLA
And that's that! Add some clear brow gel (I use the cheap ELF kind) and your brow is done.
DONE!
Now, that might have seemed pretty simple, and it is. However, there are some things I've run into that tripped me up majorly, so I'll share some of them and how to avoid them.
Things to avoid:
Drawing the brow tail too big/trying to draw an actual triangle. I know you eventually want a triangle shape, but trying to draw it can end up looking messy. Some things are beyond repair with a q-tip... I learned this the hard way.
What to do instead: Draw the bottom and/or top edge of your brow tail more towards the center/mid line of the tail, which will look like you're ending it early. Kind of like this:
Drawing TOO far outside your natural brow shape: Especially on that top edge of the arch. On me, at least, this quickly ends up looking pretty fake, and not in a good way. Some people can execute this flawlessly and have great results, but I prefer to keep it more within my natural brow.
uh oh
GOD NO
Letting the powder get outside the gel part: I hope that made sense. If not, I mean, I really overdid it in the photo:
this hurts to look at
This is another thing that (obviously) leads to brows looking way less defined, even though there's more product. I try to make sure I don't have too much powder product on my brush, and try to stay within the gel lines I drew.
See the difference? The right brow may be bigger, but it's less defined and it just makes me actually want to cry instead of say "fuck yeah!"
NOOOOOOOOOOOOOOOOO
I hope this face conveys my discomfort at that brow:
But just to be clear, if you like to do your brows more like the one on the right, that's fine! I'm not saying anything is correct or incorrect, and I'm not saying only one way looks good. I'm just expressing what looks good to me :)
I hope this helped some of you that requested a brow tutorial. Feel free to comment if you have other questions!
This is actually the best eyebrow tutorial I've ever seen, partially because you acknowledge how in particular it can go wrong and how to fix it, and I love that you are using very affordable products. Plus your brows are just amazing. I stumbled over here from r/makeupaddiction, by the way. Great blog!
Aside from the excellent tips that I'm now going to try... the tutorial made me audibly cackle, a lot. Especially at the forehead garage door and /r/PrettyGirlsUglyFaces masterclass. It just made me want to be friends!
Great post. I actually just wrote about brows today and I use the ELF brow kit too! Your post is much more detailed though, I really like it. If you want to check out my post its http://lenatalksbeauty.wordpress.com/2014/04/18/brows/
YES. This is the most helpful brow tutorial I've ever seen. The video was super adorable (forever a member of Team Girls Who Dislike Their Foreheads). But thank you so much for making this - I'm going to have the fiercest brows ever today. :)
Lol I think u look gorgeous without the eyebrows done. Anyway thanks for a worry tutorial post! Just one one question, should I get the dark or the medium as my hair is dark brown (almost black I think).
I was really want to get some more detail and information about the eyebrow makeup but your blog helped me so much thank you for sharing it. eyebrow makeup


 Next, I finish off the tail by starting at the top corner of the arch, and drawing down to the tip. NOTE: I always end that line sooner/further towards the center than I think I want. This helps with making the tail pointy later!


This is actually the best eyebrow tutorial I've ever seen, partially because you acknowledge how in particular it can go wrong and how to fix it, and I love that you are using very affordable products. Plus your brows are just amazing. I stumbled over here from r/makeupaddiction, by the way. Great blog!
ReplyDeleteWow, thanks so much! I tried to include pitfalls that stumped me when I first started doing my brows.
Deleteyou are gorgeous
ReplyDeleteThank you!
DeleteAside from the excellent tips that I'm now going to try... the tutorial made me audibly cackle, a lot. Especially at the forehead garage door and /r/PrettyGirlsUglyFaces masterclass. It just made me want to be friends!
ReplyDeleteSo glad I could make you cackle ;) thanks!
DeleteGreat post. I actually just wrote about brows today and I use the ELF brow kit too! Your post is much more detailed though, I really like it. If you want to check out my post its http://lenatalksbeauty.wordpress.com/2014/04/18/brows/
ReplyDeleteYES. This is the most helpful brow tutorial I've ever seen. The video was super adorable (forever a member of Team Girls Who Dislike Their Foreheads). But thank you so much for making this - I'm going to have the fiercest brows ever today. :)
ReplyDeleteLOL I feel like my brows are always like your last photo. WHY SO UNDEFINED AND FLUFFY NOOOO.
ReplyDeleteLol I think u look gorgeous without the eyebrows done. Anyway thanks for a worry tutorial post! Just one one question, should I get the dark or the medium as my hair is dark brown (almost black I think).
ReplyDelete*witty (not worry) sorry typo
DeleteI was really want to get some more detail and information about the eyebrow makeup but your blog helped me so much thank you for sharing it.
ReplyDeleteeyebrow makeup